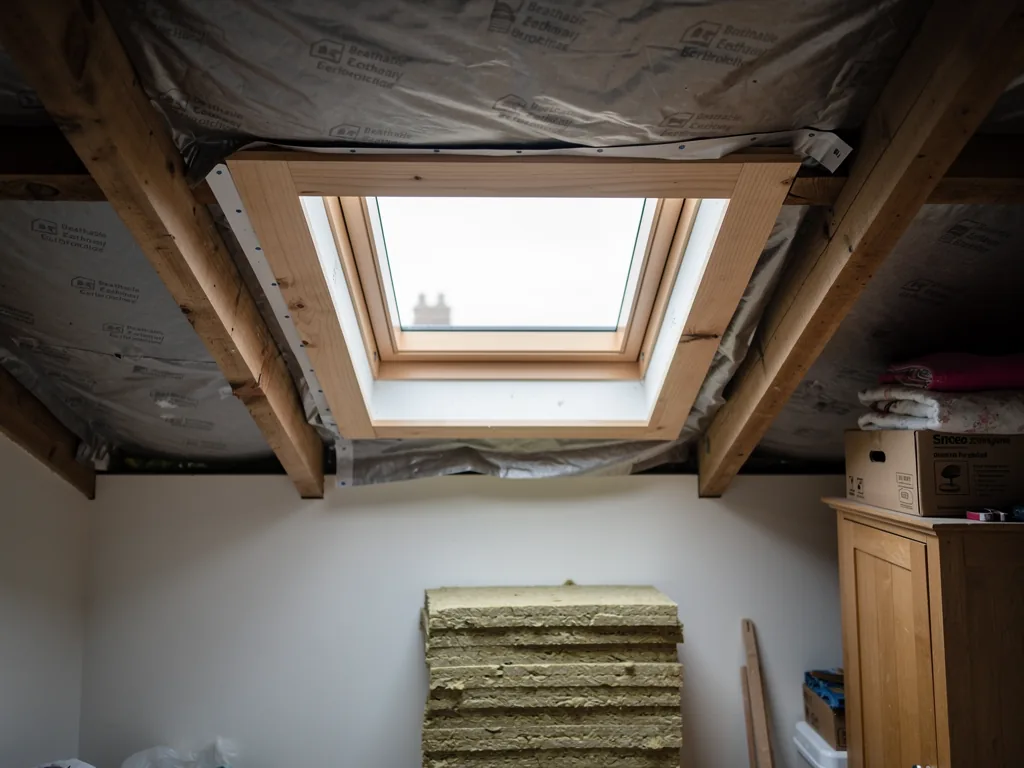
An upstand, sometimes called a kerb or a curb, is the raised frame that a roof lantern sits on. It lifts the glass clear of the flat roof so that water runs round the lantern instead of lying against it. Once the lantern is fitted and the ceiling is plastered, the upstand is buried inside the roof, and the only evidence it exists is whether the room stays dry and comfortable.
That is why it deserves more attention than it usually gets. Customers choose the glass, the frame colour and the shape, and the upstand is left to the installer. This guide explains what it is, how high it should be, what it is made from and what can go wrong. For the whole job, see our roof lantern installation page.
What the upstand does
A flat roof is only nearly flat. It has a gentle fall so water drains towards the gutter or outlet, but rain and meltwater still lie on it for a while. If a lantern sat directly on the surface, it would sit in that water. The upstand raises the base of the lantern above it, and the roof covering is turned up the outside of the kerb to form a continuous waterproof skin.
The upstand does three other jobs. It carries the weight of the lantern and its glass down into the roof structure. It holds the insulation that separates the warm room from the cold air outside. And it gives the lantern a flat, level seat, so the frame is not twisted by an uneven roof.
All of that has to work together, which is why the details are specified rather than improvised on the day.
How tall it should be
A lantern or flat rooflight stands on an insulated kerb, normally 150mm or more clear of the finished roof. The height is measured from the top of the finished roof covering, not from the structure beneath it. Where the roof will be built up with insulation and a covering, the kerb has to be built tall enough to clear that build-up and still stand clear above it.
Height matters because it keeps the base of the lantern out of ponding water, gives room to dress the waterproofing up the kerb and lets snow build up without reaching the frame. On a roof that is later re-covered, a kerb that was marginal on day one can become too low once new layers go on, which is a reason to build tall at the start.
What it is built from
There are two common routes. A site-built upstand is formed from timber, with the lantern's frame size and the roof build-up setting the dimensions. The timber is lined with rigid insulation on the inside, and sometimes the outside, and clad with a board that takes the waterproofing. This suits an existing roof where the joists fall in awkward places, because the kerb can follow the opening.
A factory-made upstand is made as a unit by the maker, often in insulated glass-reinforced plastic or a metal box filled with foam. It arrives made to the lantern's size, with the fixing points ready. It costs more as a product but saves site time, and the insulation values are tested by the maker.
Both can give a good result. The kerb needs to be solid, square, level and insulated all the way up, with no gap at the corners where the pieces meet.
Insulation and cold edges
The upstand is a weak point for heat. It is a ring of material running from the cold outside, through the thickness of the roof, to the warm inside. If that ring is poorly insulated, it passes cold into the room around the edge of the lantern. The result is a chilly reveal, and on a cold morning, condensation on the plaster and sometimes on the lantern frame itself.
A proper upstand is insulated through its whole depth, and the insulation in the kerb joins the insulation in the roof so there is no gap between them. Any gap is a cold bridge, and warm, damp air reaching a cold surface leaves water behind. In time that can stain the reveal, grow mould and rot the timber.
A fresh opening in the roof is judged on its heat loss as well as its structure, and the kerb is a large part of that answer. Where the job is notifiable, the Building Control paperwork is our job to start and to hand over.
The waterproofing detail
The roof covering is turned up the outside of the upstand and finished at the top, usually under a flashing or a trim made by the lantern maker. Where the covering folds at the corners, the detail is worked carefully, because the corners are where roofs are most likely to fail. Modern single-ply membranes, liquid-applied coverings and bonded systems each have their own method, and a good installer follows the covering maker's instructions rather than their own habits.
There also has to be a clear route for water to leave the roof. If the roof falls towards the lantern, the upstand acts as a dam, and water collects against it. A small sloped area behind the kerb, called a cricket or saddle, steers water round the corner. We look at the fall at the survey and mention it if it needs correcting.
If the roof covering is old, cutting through it to fit the upstand rarely ends well. See our guide on whether a roof lantern can go on an existing flat roof for the way we judge that.
Common faults that start at the kerb
Because the upstand is hidden, faults tend to be found by their effects rather than seen directly. Here are the usual ones, so you know what a poor job would look like.
Signs of a weak upstand
- Condensation or damp patches round the edge of the reveal in winter
- A kerb so low that water lies against the base of the frame
- Insulation stopping short, with a visible cold line round the opening
- Waterproofing that stops at the base of the kerb instead of rising to the top
- Gaps at the kerb corners that were filled with sealant instead of closed up properly
- A sagging or out-of-level frame that strains the lantern seals
None of these show on the day of the fit. They show a winter or two later, when putting them right means opening the roof again.
Why we photograph it
Everything that will be buried, we take care over and photograph, and you are given the pictures at handover. For a lantern, the upstand is the most important thing in them. You will see the trimmers, the framed kerb, the insulation going in, the membrane dressed up the sides and the corners before the lantern is lowered on.
The photos matter for three reasons. They show you the job was done to the plan. They give a future owner or surveyor something to look at if questions come up when the house is sold. And they let a roofer, years from now, see what lies under the covering without cutting into it.
Replacing an old lantern on its old kerb
When a lantern is replaced, the existing upstand is the first thing to look at. Many older kerbs were built low, with little or no insulation, and some are timber that has taken in moisture. Setting a new lantern on top carries those problems straight over, however good the new glass is.
If the kerb is sound, tall enough and dry, it can often be insulated and re-weathered and the new lantern fitted to it. If it is not, we rebuild it to the height and insulation the new lantern needs. A whole replacement lantern, frame and glass, is a controlled fitting under Building Regulations and is notifiable, so that side is dealt with as part of the job. If only the sealed units have failed on an otherwise sound lantern, our misted and failed rooflights service looks at the glass on its own.
Upstand and planning
The height of the upstand adds to the height of the lantern above the roof plane. Rooflights on houses are generally permitted development when they rise no higher than 150mm over the roof plane. Because a lantern sits on a kerb of at least that height and then rises further, most lanterns exceed the limit. On an existing roof, that often means an application or a council confirmation. When the lantern belongs to a new extension, it is assessed together with that extension.
Our answer on whether roof lanterns need planning permission goes through this in more detail, and the skylight planning permission guide covers the permitted development conditions for rooflights in general.
Getting at the upstand afterwards
Once a lantern is in, the upstand cannot be reached without taking the lantern off. That is the practical reason to get it right the first time, and why the glass, the frame and the kerb are normally supplied and fitted as one job by one team.
It also means any later work on the roof covering has to respect the kerb. A roofer re-covering the extension in future will need to lift and re-dress the waterproofing up the sides, and the photographs you were given show what is underneath. Keep them with the house papers and the product details we hand over, so the information stays with the property.
The upstand also gives you a small amount of protection against the ordinary hazards of a flat roof, such as leaves and moss that gather in the corners. Sweeping the roof clear round the base of the kerb each autumn keeps water moving, and it takes only a few minutes from a safe position.
Check the outlet or gutter nearest the lantern at the same time. If water is slow to leave the roof after rain, it will stand against the kerb for longer than it should, and that is worth mentioning before it becomes a stain on the ceiling.
What to ask at the survey
You do not need to be a builder to ask good questions about the upstand. How high will it be, measured from the finished roof? Is it built on site or supplied by the maker? How is it insulated, and does the insulation join up with the roof? What goes round it, and how will the corners be dealt with? Good answers are the sort you can see written down in the quote, itemised.
The kerb also determines how deep the reveal is inside, which in turn shapes how the room looks under the lantern. Our roof lantern sizes guide explains that connection. Booking the free survey takes a moment with the form below.